By Mike Nesbitt | Contributing Editor
After I built the .50-caliber flintlock Lancaster-style rifle, the gun I call my Trailblazer, Jerry Mayo, a shooting pal and partner, decided on what he wanted for his own muzzleloading rifle.
After much deliberation, he ordered another rifle kit from Tennessee Valley Muzzloading (TVM). Of course, he had my fullest recommendations. TVM is the maker of what I feel are the best kits available for building your own muzzleloading rifle and they offer those kits in ways that should appeal to everyone.
To quickly run through the menu, let me point out that completed guns can be ordered from TVM, ready to shoot, for hunting, or for competition. If that appeals to you, I do urge you to visit the “Showroom” on their web site to see what they might have on hand, ready and waiting.

Next are guns which are fully assembled but unfinished, referred to as “in the white.” With those, the buyer only needs to finish both the wood and the metal, or stain and finish the wood and brown or blue the barrel and other steel parts.
Or one can opt for the TVM standard kit, where a lot of the work is already done which can include inletting the barrel and the lock, plus drilling some of the important holes through the stock so the placement of those holes is already located.
Finally, there is the “builder’s kit,” and these are the kits that require the most work by the buyer. By “the most work” I mean inletting and positioning those parts. Let me add, the “builder’s kits” also require the most tools which the builder will need in order to complete the gun.
Quoting directly from TVM’s web site, here’s what they say about their builder’s kit: “This kit is recommended for advance/expert builders. It provides opportunity for the customer to do most of the building and all of the wood and metal finishing. Only single trigger is included in this kit. Our right- and left-hand customers can order this kit in any our styles: Tennessee – Basic or Poor Boy, Southern – Basic and Poor Boy, Early Virginia, Late Lancaster, Iron PA, Leman, Fowler or Tulle.” Let me add that the iron mounted Pennsylvania rifle (Iron Pa) is patterned after the York County guns, which gives that rifle its own unique “flavoring.”
Being “iron mounted” simply means that the “Iron Pa” is fitted with iron or steel furniture such as the butt plate, trigger guard, nose cap, ramrod pipes, and other fittings. More typical pieces of muzzleloading furniture were often made of brass or nickel silver. Iron (or steel) fittings are often related to rather plain rifles, such as the Hawken or other guns used by the mountain men. Such considerations are actually not fair and sometimes iron fitted rifles were very beautiful and highly decorated.
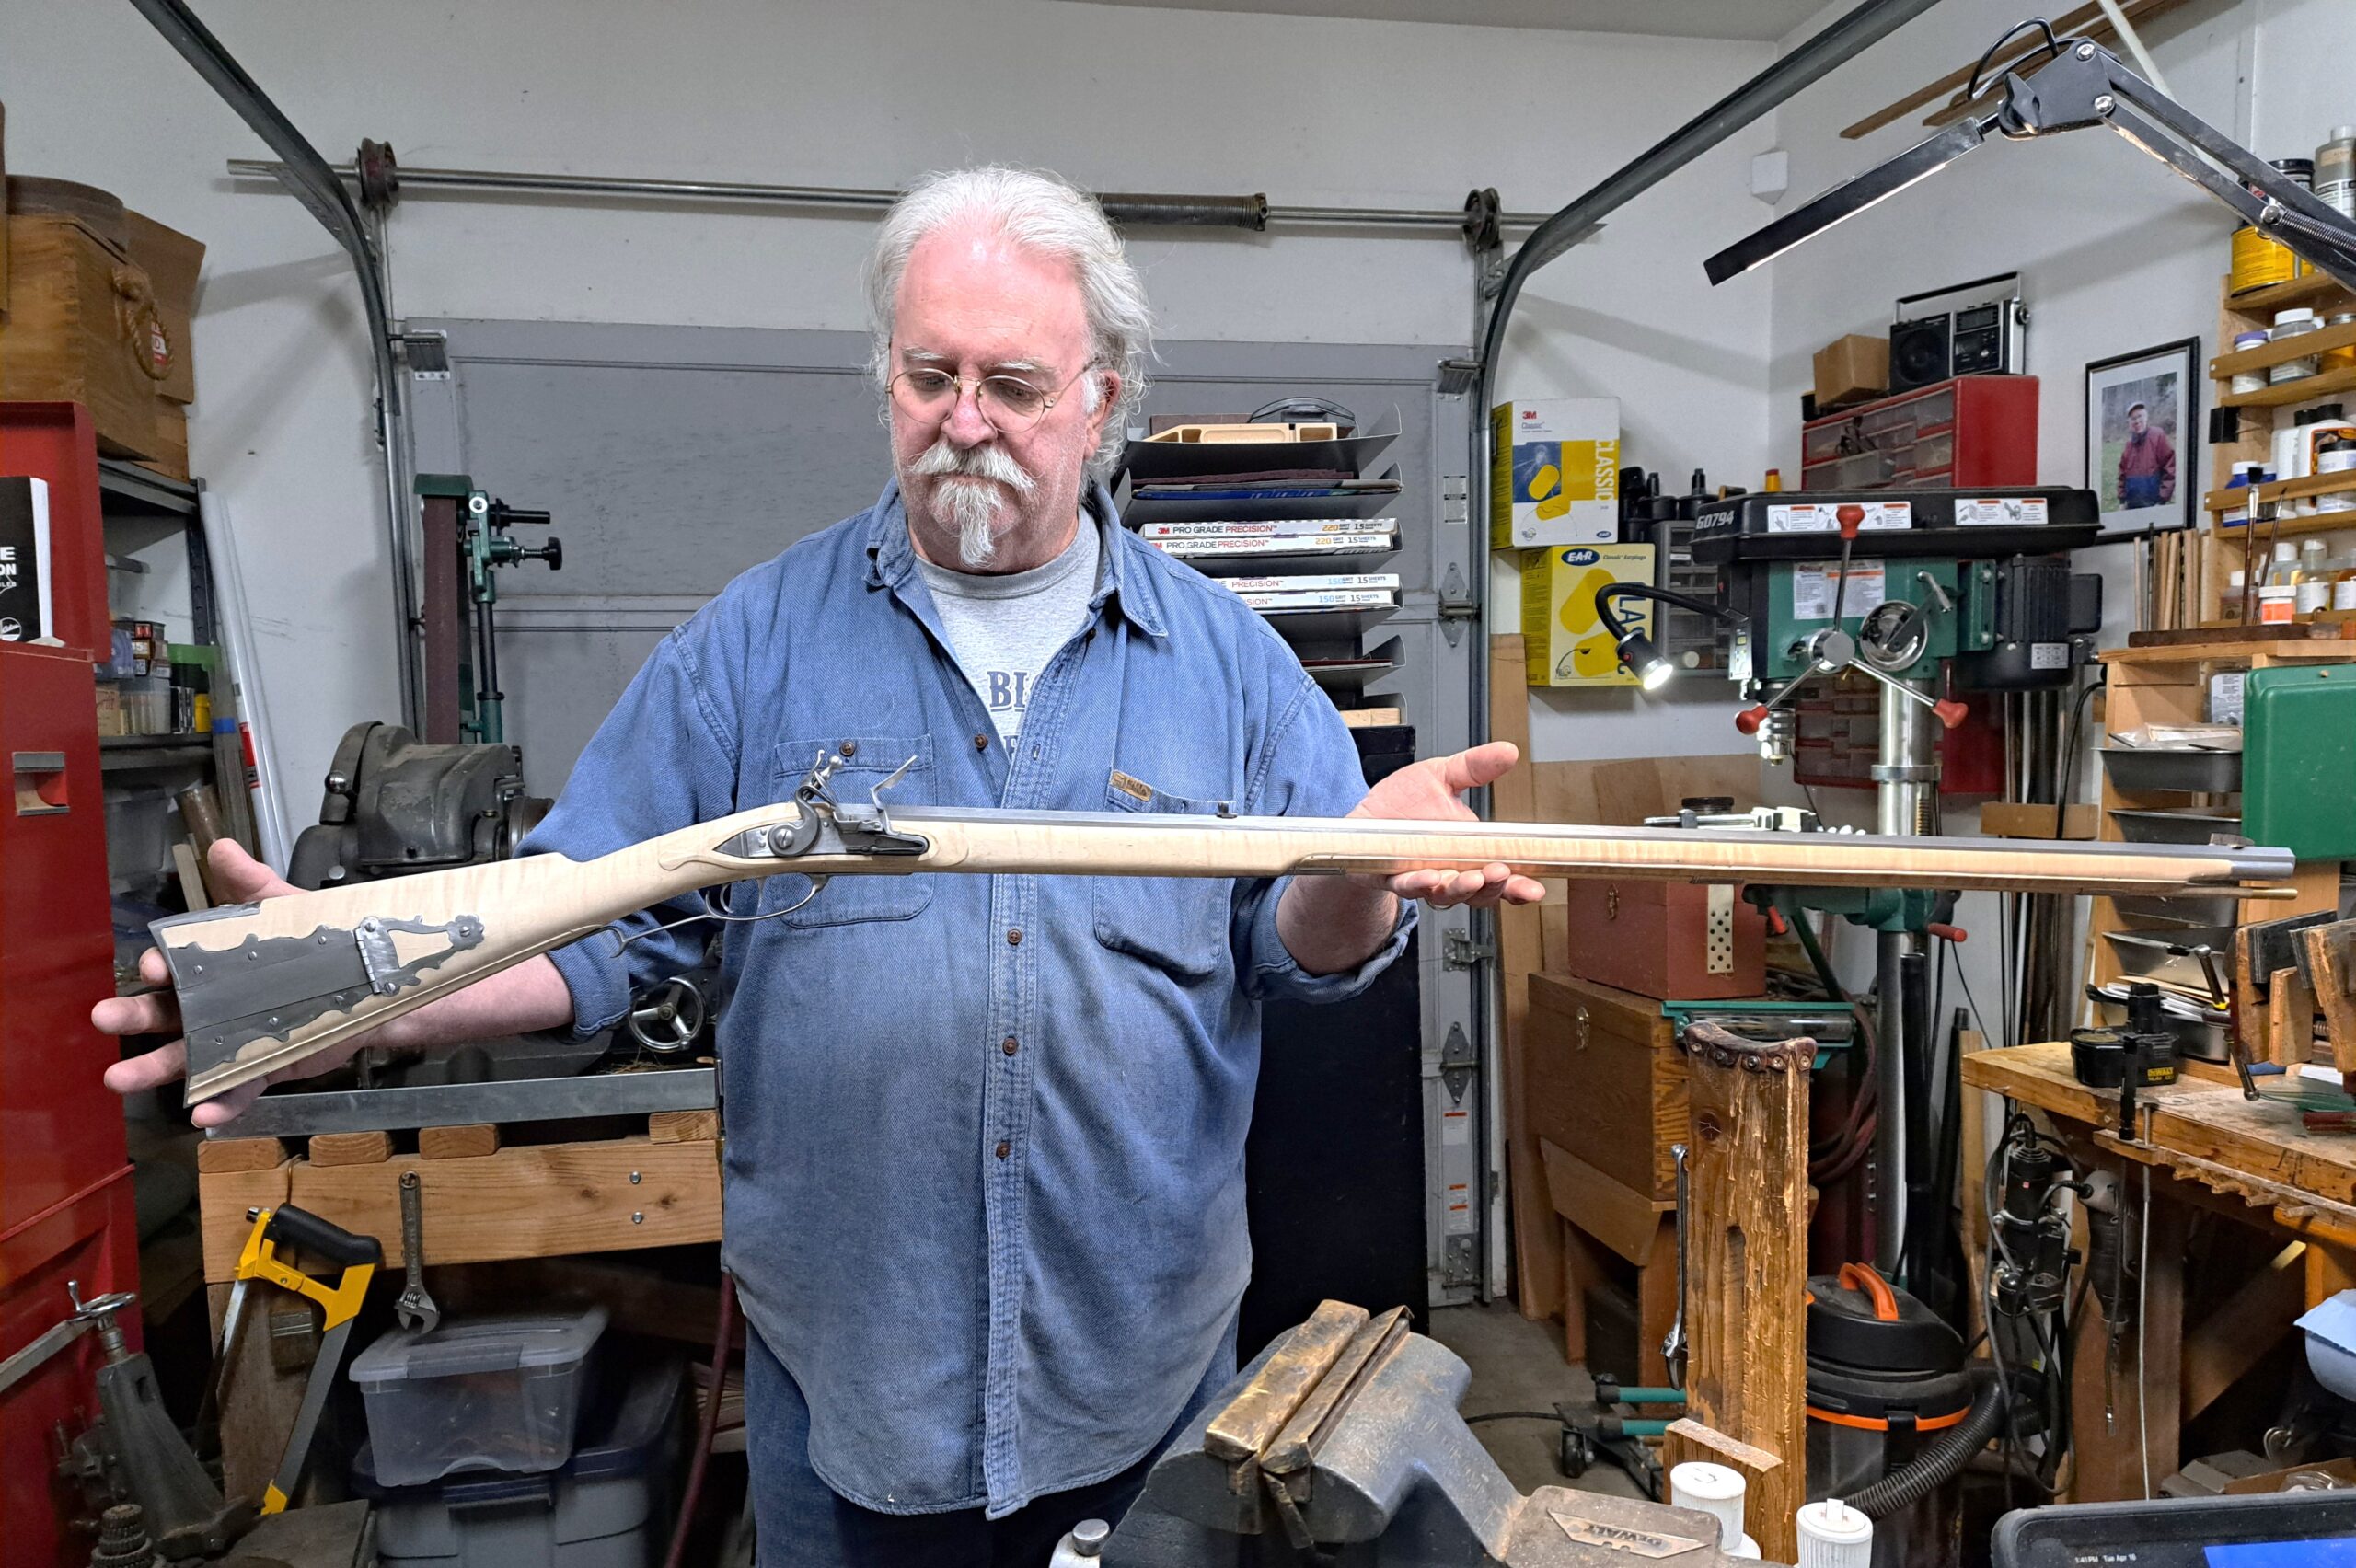
And when Jerry ordered his iron mounted Pennsylvania rifle kit from TVM, putting together a plain muzzleloading rifle was the furthest thing from his mind. So, he began the order for his rifle with the main heading, an Iron PA kit for a .40-caliber rifle with a 42-inch barrel, 13/16ths across the flats, with flintlock ignition using a large Siler lock (which is what TVM uses as standard). Extras that were added to the order were the double set triggers and premium curly maple for the stock. The iron patch box was also an added extra.
We might say Jerry made it a point by getting his TVM rifle kit in a complete contrast to what I had recently done. He wanted his gun to be very fancy. So, he selected the Iron Mounted Pennsylvania Rifle kit, which follows the lines of the York County rifles, with very deluxe wood. He also intended to have some attractive engraving added to the gun, which will be discussed as we proceed. I remember he stewed just a little bit trying to decide which barrel length to order but he did select the 42-inch barrel for his .40-caliber rifle and certainly has no regrets about getting that longer length.
There was one more part to this rifle that Jerry bought elsewhere. That was the York County style iron patch box, with the daisy finial, which was purchased from Track of the Wolf. To add to the order from Track, Jerry also bought a couple of 3/8ths-inch, 48-inch-long hickory sanded ramrods. With those pieces from Track, the parts were complete and the building of the kit for the iron mounted .40 could begin.
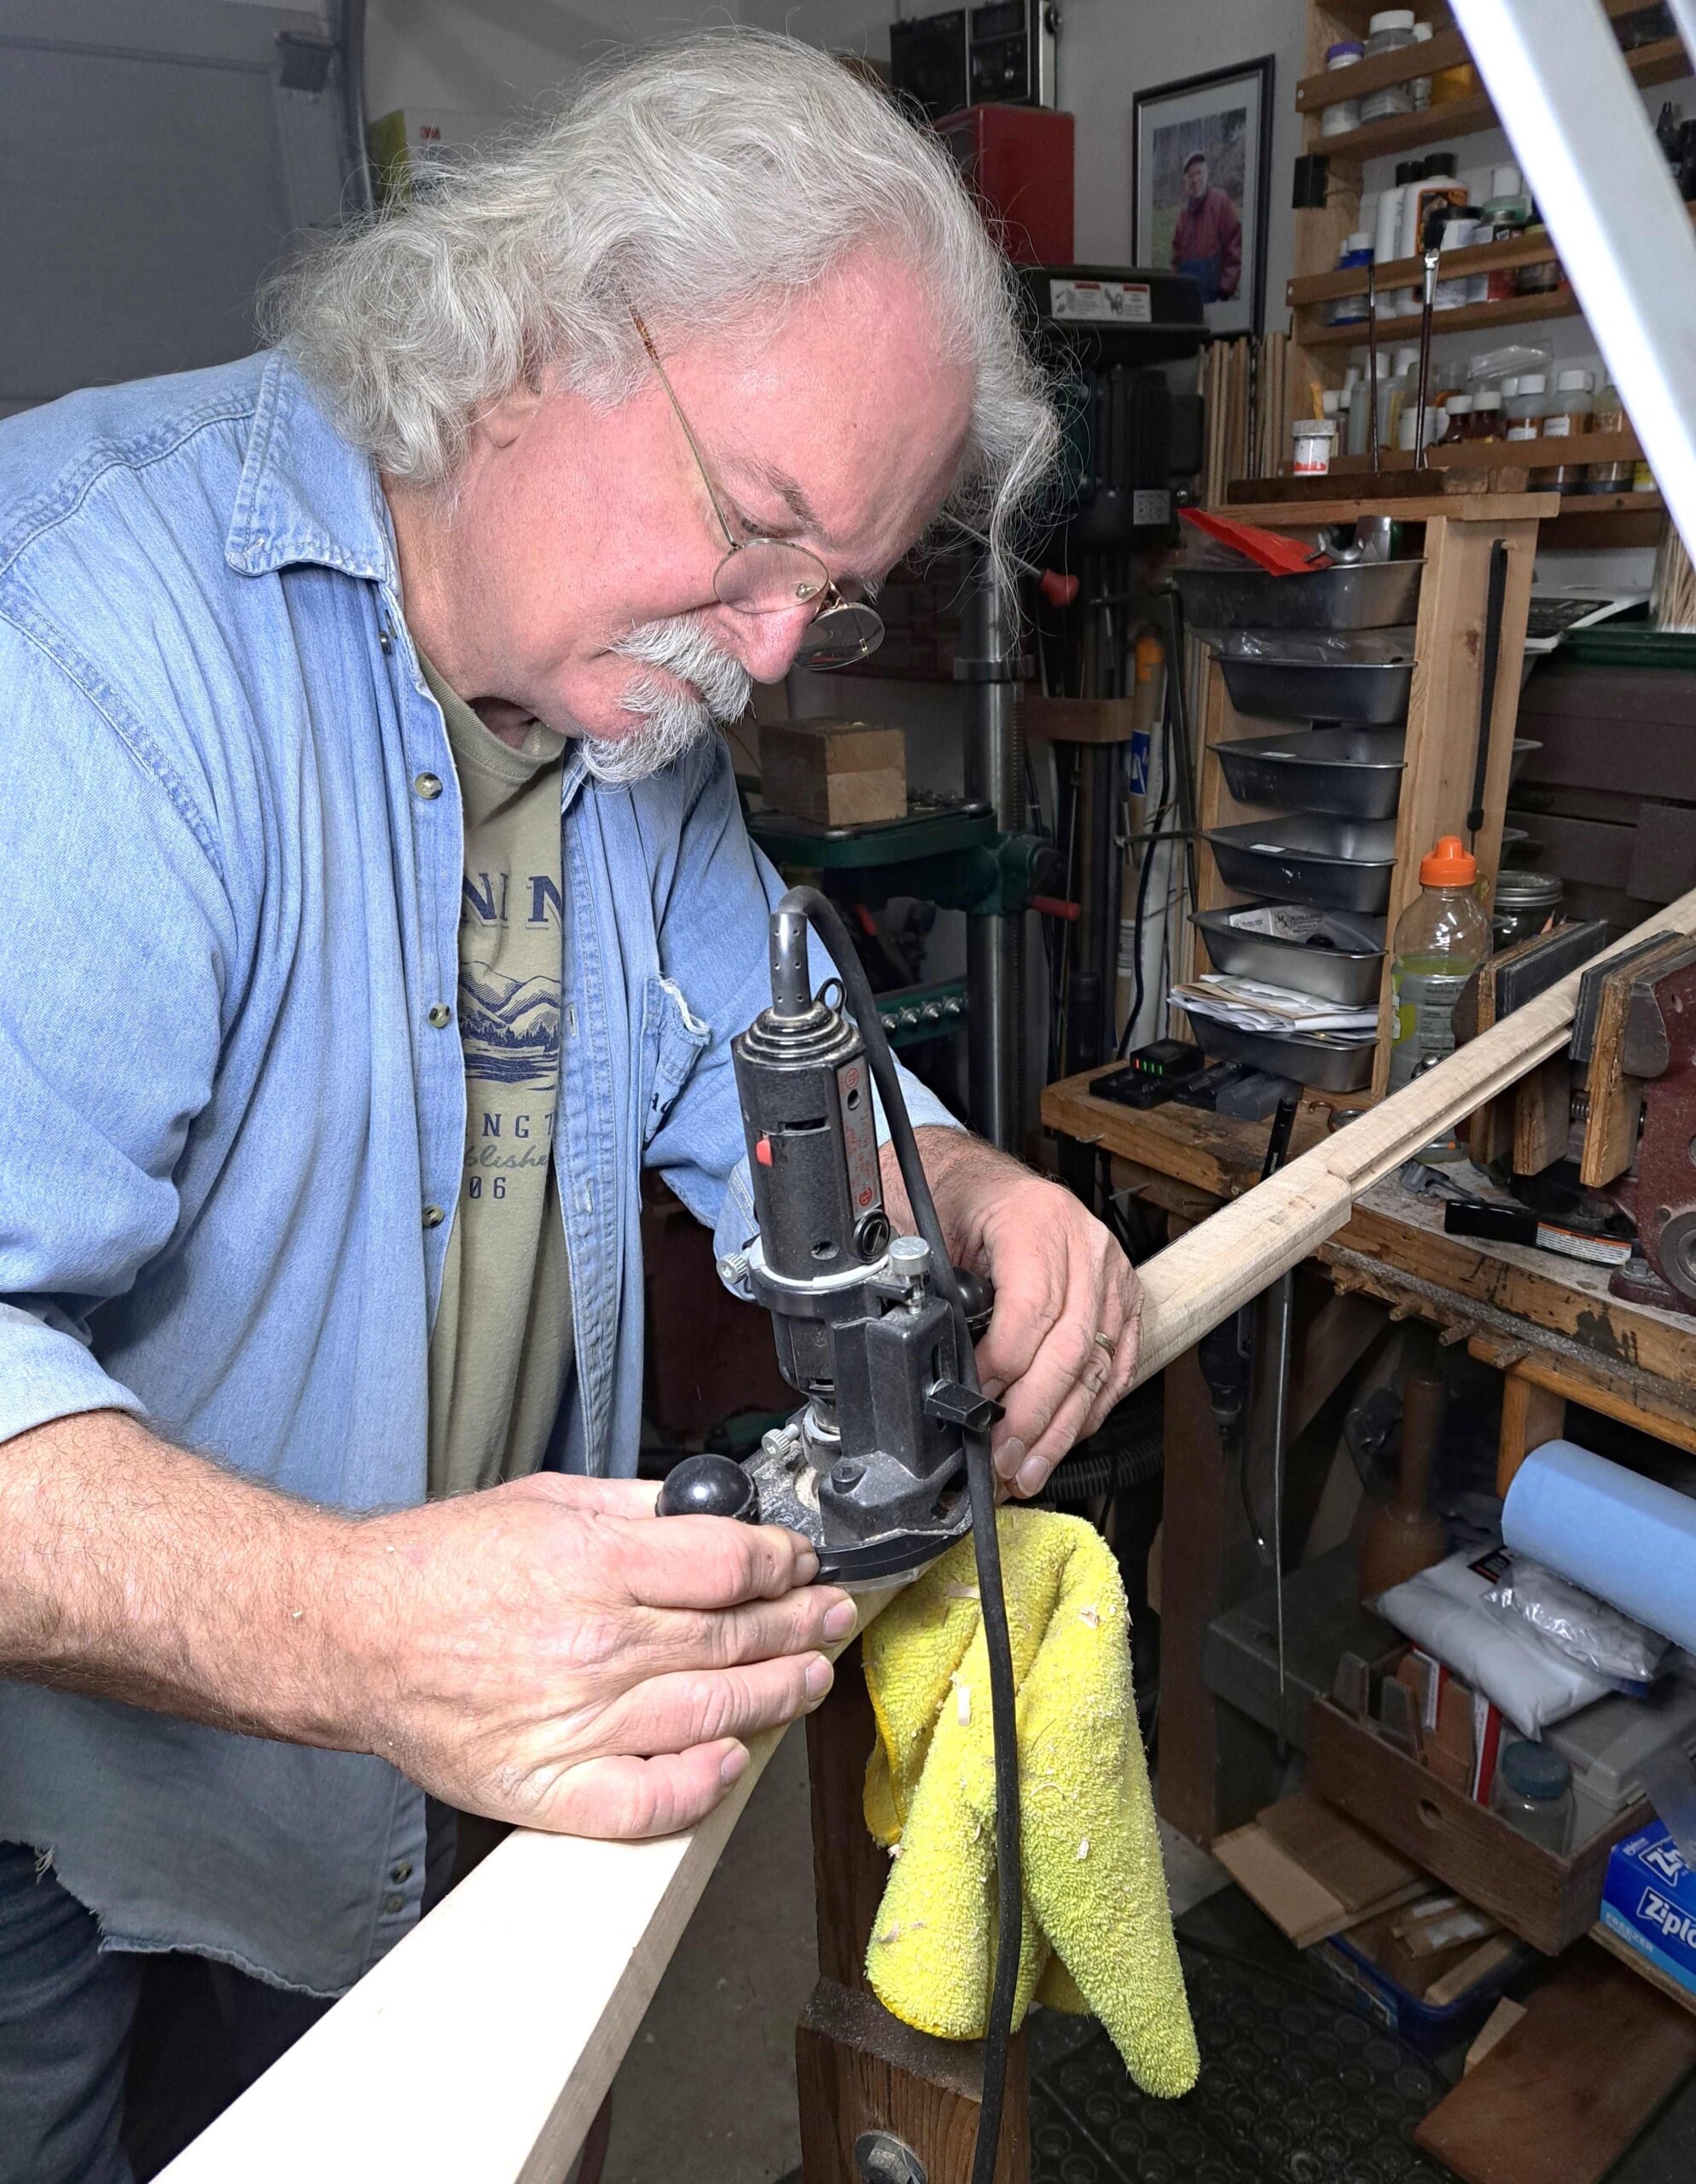
The assembly of Jerry’s rifle began with inletting the barrel into the stock. Some gunmakers begin by fitting the butt plate first and that isn’t a bad idea. One good reason for fitting the butt plate first is to protect that area of the stock, especially if the stock is already cut to receive the butt plate. And, likewise, the barrel supports and protects the forearm of the stock and that gets to be important when mounting the stock in a vice to hold it steady while work is being done. Without the barrel in place, the forearm could be crushed rather easily with just a little too much tightening of the vise. We might add that whichever end of the rifle you start on, getting started is the most important thing. Often getting started is the hardest part.
For Jerry, he admitted that the hardest part was fitting the patch box with its open area just behind the “daisy” finial. In his opinion, that required the most time when compared to the amount of work actually done. But let’s stand on Jerry’s side of the workbench and agree that fitting the patch box in that style is not the easiest thing to do. Jerry was doing some of these things for the first time. With those factors in mind, we can easily compliment Jerry rather than criticize his work.
TVM kits are not prepared and waiting to be sold. Instead, all kits are prepared to fill orders, with the specifics of length of pull and all of the buyer’s “wants” included. To give you an idea of how long that might take, we must understand that delivery time can certainly vary with parts on hand as well as how busy the crew is when the kit is ordered. Jerry ordered his kit on the 28th of August and the boxed-up kit was sent on 28th of September, just one month. I think most of us would agree how that is very good. Of course, TVM does fill their orders as timely as possible.
One area of work, or perhaps just a feature of the stock shaping, was whether or not to add accent lines along the bottom of the butt stock, from the triggers to the butt plate, and around the lock molding, as well as along the bottom of the forearm, just outside of the groove in the forearm for the ramrod. That needed further consideration and Jerry went home to “sleep on it.” By the next morning, he had reached a decision. He said if he didn’t add the accent lines to the stock, he would always wish he had. So, those accent lines were cut in and they do add to the character of the rifle.
A tiny stumbling block was encountered when fitting the ramrod. The forward lock screw was in the way. That was “fixed” by cutting a groove in the middle of the lock screw, as well as thinning the ramrod so the rod could pass by. What Jerry just needs to remember is that “groove” in the screw goes up or down when replacing his gun’s lock.
Jerry said the most gratifying steps were enjoyed while shaping the stock. He really admires fancy wood and his rifle has a very gorgeous stock. What Jerry referred to was while bringing his gun’s stock to its final shape, especially at the back of the cheekpiece, was how the grain and figure of the stock began to really be noticed as the wood was worked with the final shaping tools and sanding. That’s one fine piece of wood.
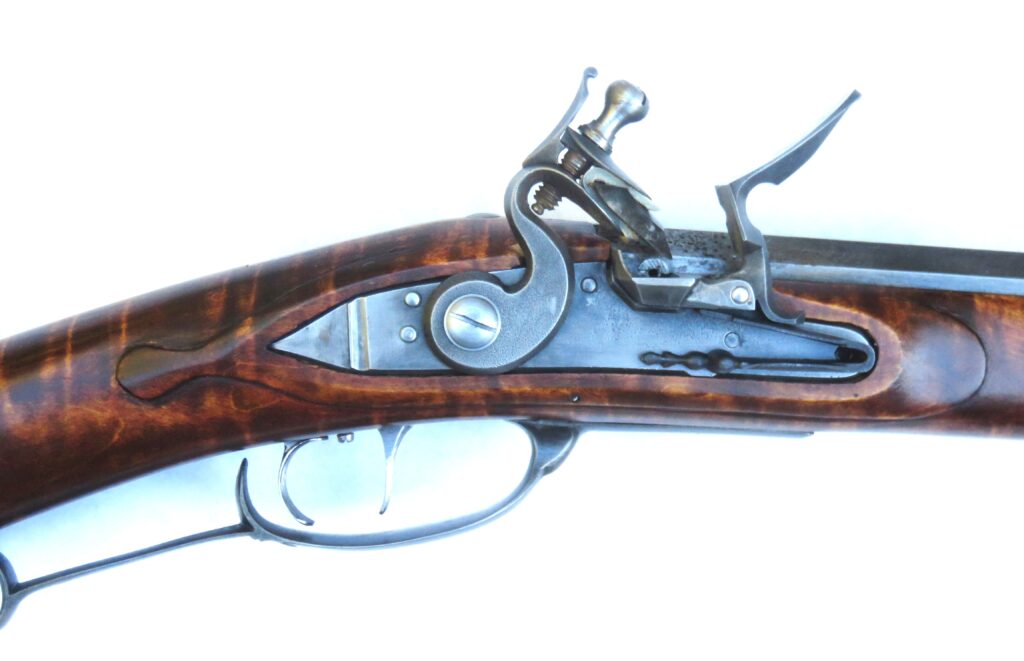
Of course, the figure in the stock became more outstanding when the stain and finish were added. That began with Kibler’s Iron Nitrate. Two applications were made to get the coverage Jerry wanted. Then, because he wanted a red tint to the stock, he applied a couple of coats of Chambers’ stain, from Jim Chambers Flintlocks.
Once the desired color was where he wanted it, Jerry began applying the Tru-Oil. He likes the protective properties of Tru-oil. The way he applied the Tru-Oil was to thin it with mineral spirits, at about 50%, to start with and adjust that mixture as the finish developed. He says his goal was to see more wood and less finish.
The steel or iron of the barrel and furniture was not browned. Instead, Jerry used JAX Black for the steel furniture. This product does not list steel as one of its intended uses but Jerry believes it results in a desirable finish. Once the metal surfaces are ready, you degrease the pieces, apply the JAX and the darkening takes place. When the entire piece has colored, without wiping it off, spray liberally with oil and using a fine Scotch Brite pad, rub the finish till it appears as you want.

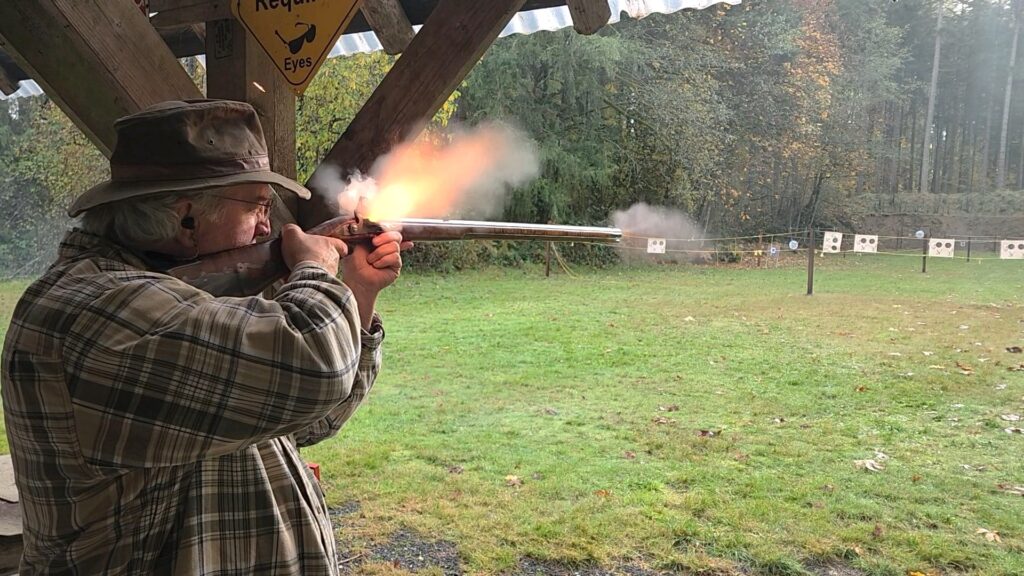
Since then, Jerry has used this rifle almost exclusively in our muzzleloading matches and he does quite well with it. One of his experiences can be related here, simply because I remember this well. A rather large group of us were enjoying a muzzleloading match where we were shooting paper targets at 25, 50, 75, and 100 yards. Those targets at 75 and 100 yards were shot at from the optional sitting position while supporting our rifles over cross-sticks, which certainly do steady the rifle. When Jerry posted his 100-yard target, he made a mental note that his target was the first one to the left of the post, which supported the ropes when the targets were hung on. But while Jerry was walking back to the firing line, and unknown to him, another shooter posted one more target, in between Jerry’s target and that post. You can guess the result.
Jerry did some very good shooting, scoring some fine 10s and perhaps some X’s. But he was shooting on the wrong target. We can probably guess that we’ve all done that. So, Jerry got no score for his 100-yard shooting. Jerry’s score at 75 yards was pretty good and he’s rather convinced that the good shots on that doubled target had been his. I’m in support of that idea. Even so, that was no help to Jerry because the fact remains; Jerry missed his target with all shots. We can certainly expect more or better good shooting in the matches to come.
So far, I’ve had the chance to shoot Jerry’s rifle just one time, one shot. That was at the 2024 Christmas Match of the Paul Bunyan Plainsmen. One part of that match was where we’d fire three shots at balloons which were posted at about 50 yards. A tricky part of that was how we could fire only two shots with our own rifles, then fire one shot with a borrowed gun. Jerry and I partnered on that, I took one shot with his .40 while he took one shot with my .50 caliber “Trailblazer.” We both missed…
Jerry did a fine job of putting this TVM Builders’ Kit together and his tastes in the finish and accents are very good. Be sure to contact Tennessee Valley Muzzleloading if building a new rifle crosses your mind. They might have a gun in the style you are looking for. Matt Avance, the top man at TVM, runs a very good business and their guns and kits are some of the very best. Jerry’s rifle is a really good example of that.