By Scott Smith | Contributing Editor
Over the last decade I have used several products to camouflage firearms and gear.
While it is possible to get achieve great finishes, unless you have a complete finishing shop it is hard to obtain very detailed patterns. This is not the case with GunSkins (Phone: 704-272-2742; Online: gunskins.com).
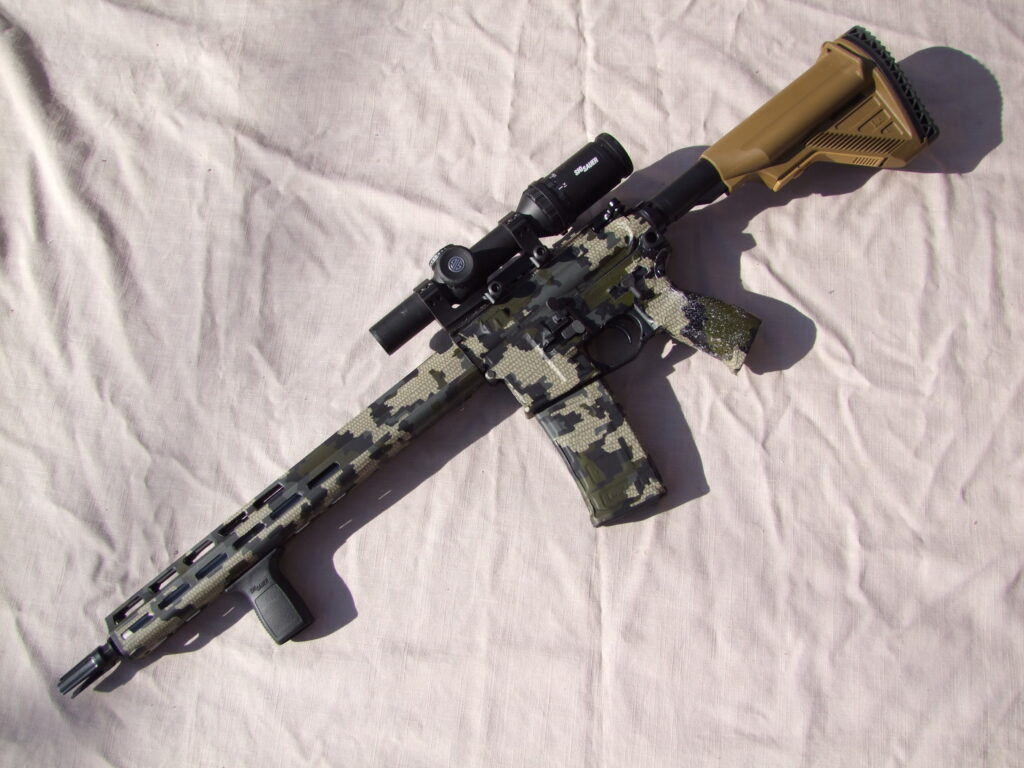
GunSkins is an appliqué, a sticker if you will. Before you blow off the idea of using a “sticker” to finish your firearm, bear with me. GunSkins is a precut vinyl wrap with a non-marring adhesive. Before I worked with it, I wanted to make sure the material lived up to what I read about it. Try as I might during the install; I could not get the wrap to remove factory finish on any part of the Sig Tread or any of the handguns I applied the GunSkin to. Now that I knew the GunSkin would not damage the Sig Tread, the time had come give it a facelift with Kuiu Verde 2.0.
Before applying the GunSkin, you need a few additional items. These are not items not unique or hard to find. First, you need a sharp razor cutter to trim the appliqué with. Second, a clean rag and a degreaser to ensure you are working with a clean surface; I used ordinary rubbing alcohol. Last a heat gun or a hair drier to make the GunSkin malleable to form it to the nooks and crannies of the firearm. An ordinary pencil eraser will also help get the GunSkin into those tight places without marring it. I also suggest watching GunSkins’ installation videos, they are a huge help.
First off, you do not have to remove every part of the AR. GunSkins cuts every part to fit each section perfectly. You will want to remove the upper receiver from the lower, if for no other reason to make the parts easier to maneuver. Once you do that, wipe down the entire rifle with alcohol. This will ensure any cleaning fluids or light oils are removed. After that, wipe down the area you are going to work on again and repeat for each section. Again this is to make sure you have a clean surface.
The first item I did was the OEM P-Mag. There are two sections of GunSkin one for each side. You will notice the leading and trailing edges will roll into place once warm. Only the exposed section of the magazine will be covered, you do not want to interfere with the magazines inserting or dropping free.
After finishing the P-Mag, it was time to do the details of the upper receiver. Again, wipe down the section you are working on with alcohol. I did the left side first because it was the least involved. After that, the ejection port cover, brass deflector and forward assist; the remaining pieces will overlap the brass deflector and forward assist, this helps keep the small pieces secure and give you a smooth look. While doing this apply heat as needed and then over the entire upper receiver to get all the pieces formed it.
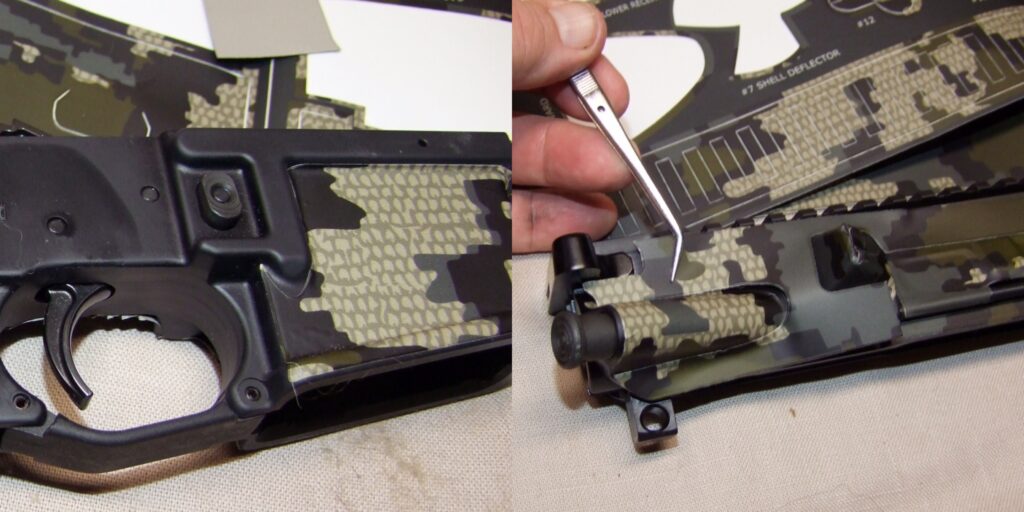
Next I worked on the lower receiver. Small areas were done first, this will allow the larger sections to overlap and give you a smoother finished product. Take your time there are several pieces to the lower. Having a Tread; I had to cut a few pieces for the ambi-safety and ambi-magazine release. Then it was time for the grip. Like the magazine is two separate pieces of GunSkin, the heat gun will help the sections to wrap smoothly here as well.
Finally I did the largest item, the forearm. The Tread has a unique M-Lock forearm that is basically all flat surfaces. First I tested the forearm section to see how much was needed for the diameter and cut an inch overlap. Next I peeled a portion of the GunSkin from the backer. I wanted to use the backer to help to roll the material onto the forearm. Using the backer gives you control and will keep the product smooth as you apply it. Once it was applied I used my heat gun on low to ensure the GunSkin was tight, make sure you do not hold the gun in one place for long; it will melt the GunSkin. Then came the fun part of doing the forearm; cutting out all of the slots with the sharp razor cutter. Once all of the slots were cut out, I again hit each one with the heat gun; this wrapped the GunSkin into each slot.
When you have the AR finished you will notice the pattern you chose matches up. This shows how GunSkins pays attention to cutting each appliqué.
At $64.99 an AR GunSkin is an ideal Christmas or Hanukkah gift for the shooter on your list. GunSkins offers the kits in 97 patterns; the kits are also available for pistols, shotguns, long guns and scopes.
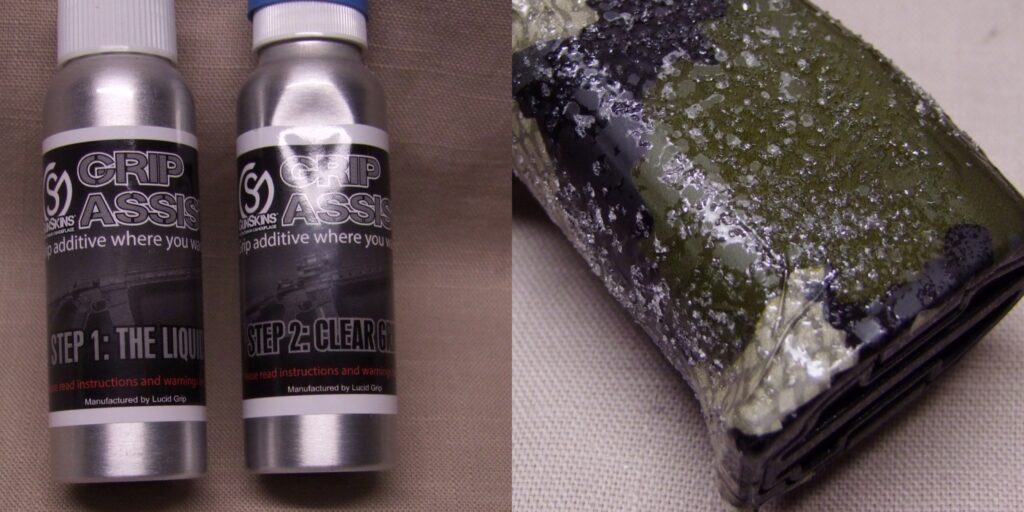
The one item I would add is Grip Assist at $29.99. This is GunSkins’ two part kit to give texture to your GunSkin covered firearm. First apply the adhesive/sealer let set as instructed and then lightly sprinkle on the texture. A little goes along way and you can repeat the process if you want a more aggressive finish. The liquid comes in black or clear that will allow the GunSkin to show through.
To apply GunSkins to my Sig Tread, it took about an hour for the skin. About another hour was needed for Grip Assist to cure. GunSkins was by far the easiest and fastest finish I have used on a firearm. GunSkins can help conceal your firearm, make it stand out and protect it from the elements without any special tools or skills. GunSkins is truly DIY. Your unique firearm will standout on the range or in the field. Get out there and enjoy your new firearm; shoot safely, shoot accurately and have fun.